Great Christmassy Upholstery Projects To Decorate The Home
November 19, 2020
Giving the home a festive flair in the run up to Christmas is full of joy! With so many upholstery projects for you to choose from, sprucing up the home can lead to hours of endless fun.
We have selected three of our favourite ways to create a seasonally sensational home with Christmas decorations you can make with a sewing machine:
Christmas Cushions
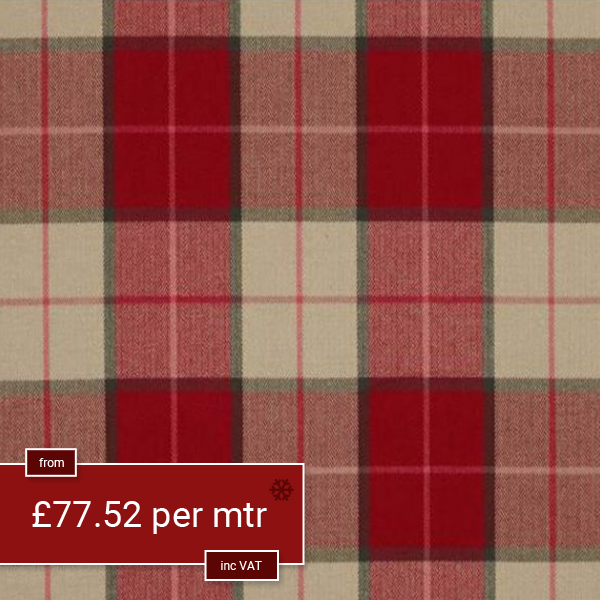
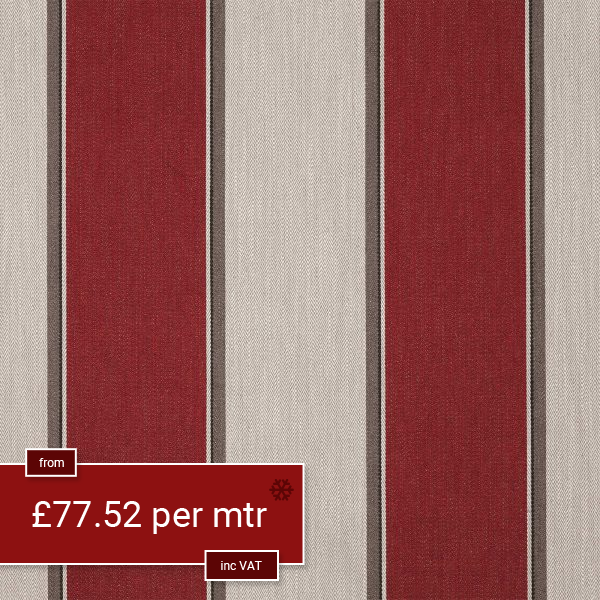
There is nothing cuter than a Christmas themed cushion cover that can come out for the season and be stored ready for next year, or given as an adorable gift. There are hundreds of fabrics to choose from or make your own festive coloured patchwork pattern, with so many different shapes or sizes to choose from the design choices are endless.
So, let’s look at how you can make your very own Christmas cushion!
Before beginning to make your cushion cover you will need to have a cushion pad. Measure the width before adding 3cm to each measurement to allow for a 1.5cm seam allowance. Then measure the length of the cushion, before doubling the width and adding 10cm – this will allow the envelope overlap to inset your cushion pad in the finished cover.
Once you have the measures of your cushion pad put them onto your chosen fabric with dressmaker’s chalk, making sure to mark which section is the back or front. Then cut out the front section of the cushion panel.
Fold the fabric of the two short ends by 1.5cm and press, before folding the fabric over the previous folds again by 1.5cm. Before pressing, pinning and tacking in place to create a double hem.
Use a straight stitch on the sewing machine to sew the hems, make sure to sew on the right side of the hem.
Then place all the cushion panel pieces together, inside out, making sure all the edges line up. Once you are happy with these and the envelope opening, pin all the unsewn edges and tack them together.
Straight stitch the edges together using the sewing machine, then remove all the tack stitches.
Trim the corner fabric and turn your festive cushion cover the right way round, giving it one final press with the iron.
Now you can insert your cushion pad ready for your new Christmas cushion to take pride of place on the sofa!
The Little Christmas Elf
Nothing says Santa is coming quite like having your very own little Christmas elf ready to greet him by the fireplace!
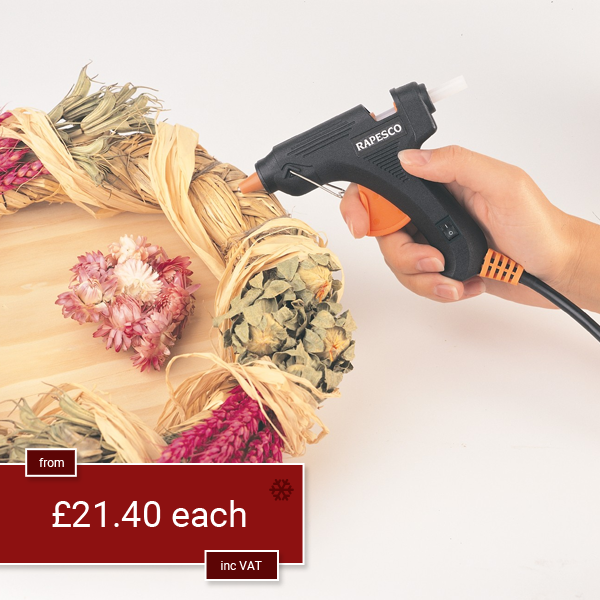
First you will need fabric, cushion or bean bag filling, two buttons, thread, scissors, fabric pens, card, red & white felt small white pom pom and glue.
To begin, we will make the body by cutting a circular shaped fabric piece and loosely threading stitching around the outer edge.
Then slowly tighten the stitch, this should cause the fabric to gather. When it does this, begin to fill the body with either the bean bag beads or cushion filling.
Once the elf is as full as you can get him, pull the stitch as tight as you can without snapping it and tie it off. We now have an elf body!
Next cut out some fabric to act as his little jacket. This can either be a simple rectangle of fabric, choose a thread that matches, wrap the jacket around him securing in place with stitches running down where the fabric meets itself – make sure to tie off the stitches under the fabric if possible. Fabric glue can be used for extra security.
Stitch the buttons onto the front of his jacket, securing the stitch under the button.
Then create a cone out of the card and either glue or staple in place. Wrap the red felt around the cone, trim and glue in place. Cut a strip of white felt to go around the base of the cone, glue in place. Add the finishing touch by glueing the pompom to the peak of the cone.
Secure the cone onto the top of the body by stitches through the felt and glueing the rim down.
Add the finishing touches by drawing on the eyes and cheeky smile of your Christmas Elf or stitching on an upholstered button with a beard.
Place him proudly on the fireplace, where he can wait for Santa to appear to drop off the presents!
Perfect Presents
Looking for something to sit under the Christmas tree before all the presents arrive or to decks the halls with festive cheer? Everlasting upholstered Christmas presents are the perfect decorations.
Collect together all the wooden or plastic boxes you would like to turn into beautifully festive presents decor. They can be any shape or side you wish.
Lay your fabric choice on the floor, placing your box in the middle. Fold the fabric up the side of your box, marking the outline with dressmaker’s chalk. Add a ½ inch seam allowance, then cut away the excess fabric.
Do the same for the lid of the box.
Cut down the inner corners of the seam allowances, pull the fabric up the sides of your box, folding the seam allowance under and pin in place as you go.
Once happy with how the fabric falls, sew in place with an invisible stitch.
Fold the seam allowance at the top of your box inside, then staple in place for a secure hold.
Repeat for the lid.
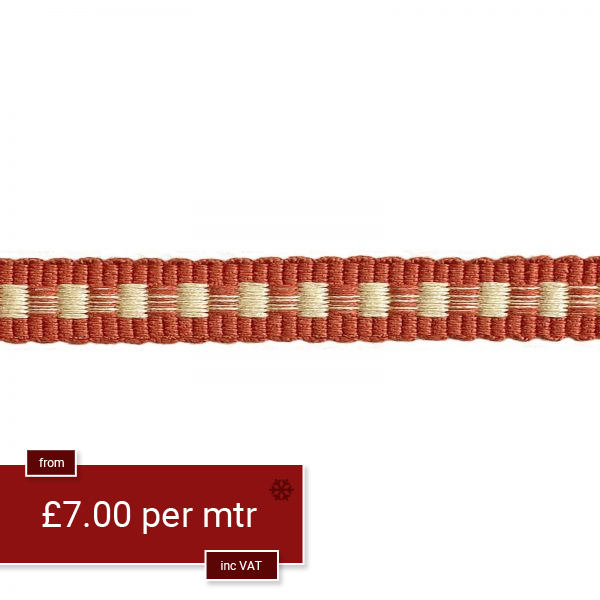
You now have a full upholstered box. All that is left is to attach decoration, this could be a ribbon running around the box with a big beautiful bow on the top. Add a label to create an authentic present feel.
Your upholstered presents are now ready to be placed under the tree or to line your halls ready for Christmas. Fill them with chocolates or hide small presents in there, no-one will think to look!
Do you know someone who wants to dabble in upholstery? We have the perfect Christmas present for them! Our starter kits come with everything they could possibly need to start their upholstery journey.
For advice on gifts for upholsterers or on a project you are currently undertaking, give the friendly team at J A Milton a call on 01691 624023 or visit us online today!