


June 8, 2021
Every piece of upholstered furniture needs something special to finish and there is nothing more suited for the job than braid and gimp.
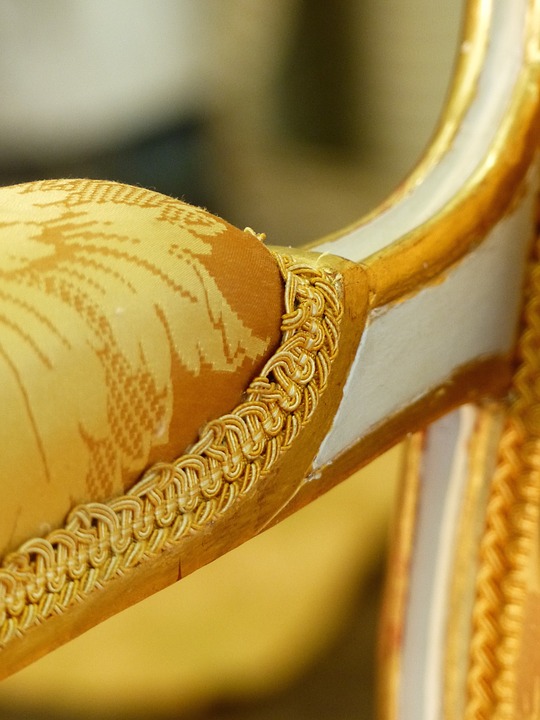
Upholstery gimp and braid is a narrow ornamental trim that when fixed lies flat against the fabric of a piece of fabric furniture or cushion. They are available in a wide range of colours and styles, and add an understated elegance to your furniture. Whilst conveniently hiding any staples or uneven fabric edges.
How to Attach a Gimp Braid?
There are two main ways to attach gimp braids to your upholstery project, either with glue or with tacks and/or nails.
Attaching Upholstery Braid with Glue:
Fold the frayed end of the gimp braiding and start to attach to the fabric somewhere inconspicuous, ideally the underside or back of your furniture. Then apply a thin line of glue to the back of the braid and apply the braid tightly along the edge of your fabric, ensuring there are no gaps and it’s straight. Make sure to apply pressure for a few seconds to ensure the glue binds with the fabric.
Continue the same process, working on a few inches on gimp braid at a time. Once you have finished one side, trim the excess braiding leaving 1-2cm to fold over and hide the joint.
Top tip: don’t use too much glue as this can be difficult to remove.
Attaching Upholstery Braid with Tacks or Nails:
Upholstery tacks or nails can be used to give a visually pleasing studded effect, with there being a choice between subtle pins that blend in with gimp or statement and decorative nails that compliment the gimp. No matter which is more to your taste the process for applying these are the same.
You will need a tack hammer or lightweight mallet to pin the end of the braiding in a discreet section of your upholstery project, folding over the frayed section.
Guide the gimp braiding around the edge of your fabric, keeping it taut to prevent sacking, adding tacks or nails to the centre of the braid at regular intervals to ensure the braid stays in place and is even all the way round. Ideally your holding tacks should be no more than 1 inch apart to make sure that the bradi does not move when applying it to the fabric.
Top tip: If you are planning on applying a stud effect with the upholstery tacks, then try using upholstery nail strips. They are easy to attach and take away the need to add lots of individual nails. These metallic strips come in various colours and are ideal for beginners who want to make an impact with this upholstery finish.
Traditional braid and gimp trim available from JA Milton, perfect for your latest upholstery project. Various styles and colours are available, so browse this attractive range of braid and gimp online today.