


March 10, 2020

Looking for your next upholstery project? Want to spruce up your home in the first half of the New Year?
We have a project that may be just perfect for you – upholster a drop-in chair!
So, what is a drop-in chair?
A drop-in chair is also known as a slip seat or loose seat chair, meaning that a fully insertable and removable seat frame rests within the chair’s frame.
What will you need to upholster this type of chair?
As with any upholstery project you need the right equipment. Here at J A Milton we have all the upholstery you need; from the fabrics, to the tacks that hold it all in place.
J A Milton have all the items you’ll need to take on this upholstery project, such as:


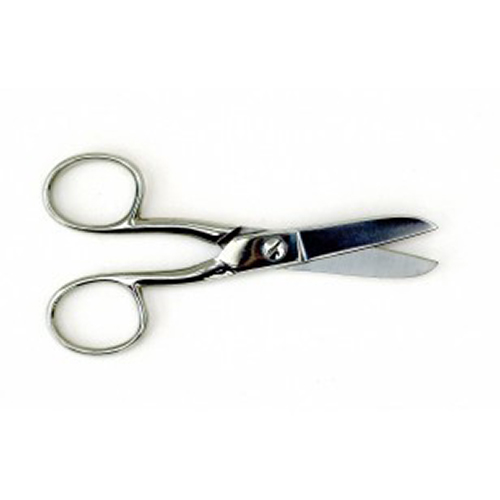
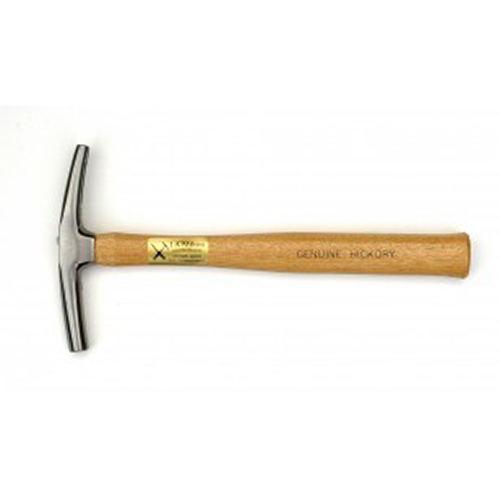
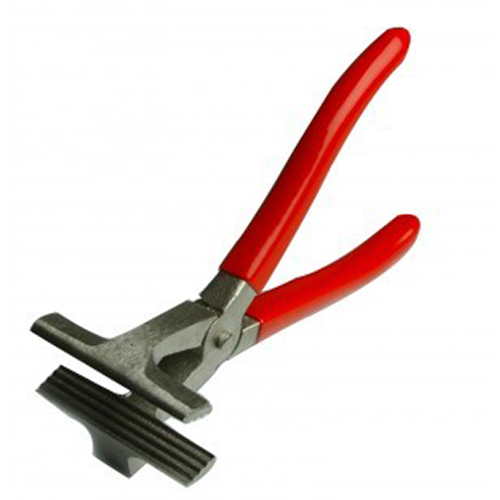
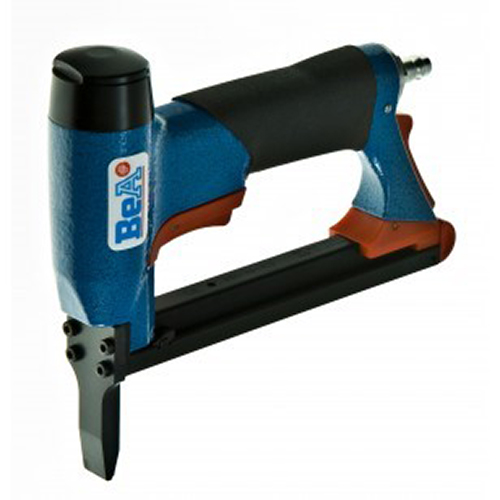
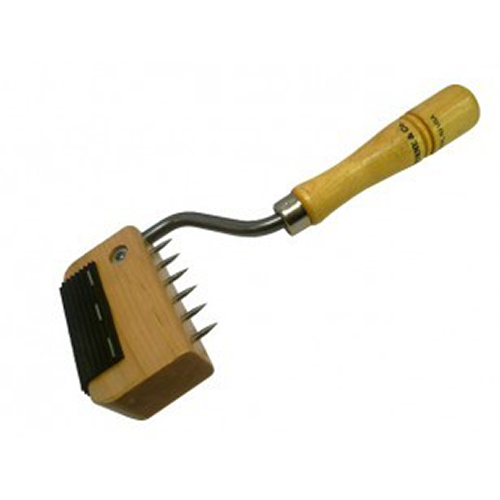
(Please right-click the photo to follow the link to the product)
Once you have everything you need you can begin upholstering your drop-in chair!
The Process:
Step 1:
Remove the seat frame from the chair. This is done by simply pushing the seat out of the chair from underneath. Strip any existing upholstery and place the frame right side up on a surface. If there are any difficult to lift tacks or staples then J A Milton have two tools to help with this; staple and tack removers.
Step 2:
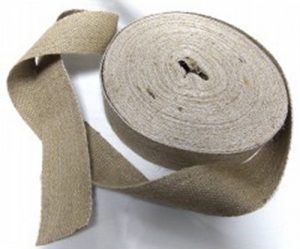
Cut the jute webbing into strips at approximately 8 inches in length longer than the widest part of the seat frame.
Top Tip: place the jute strips along the seat frame as you cut them out and stop when you have enough over the frame.
Step 3:
Place the first jute strip just at the end of the seat frame and the excess to the side. Then hammer three tacks in to hold the strip in place before folding the excess jute over itself and securing with another three tacks.
Step 4:
Pull jute strip across the frame and stick the strainer prongs into the jute (otherwise known as forking), then lever the strainer down to stretch the webbing straight and taut.
Step 5:
Once happy with tightness, hammer three tacks into the strip to hold it in place. Fold the jute strip back over itself and secure it with a further three tacks before trimming excess webbing.
Step 6:
Repeat steps 2 to 5 with the other strips.
Step 7:
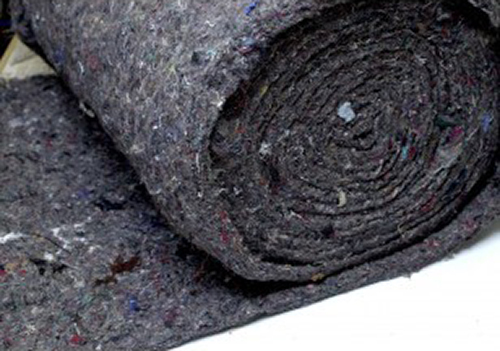
Cut the hessian so that it is slightly larger than the seat, folding the edges under then staple to top of the frame – over the webbing.
Step 8:
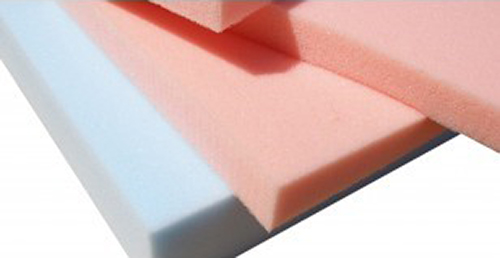
Cut the foam so it is slightly larger than the chair frame.
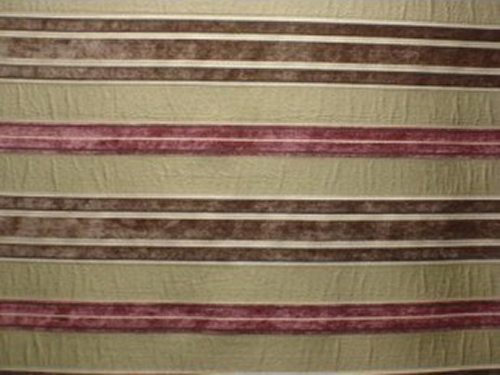
Repeat with the wadding and cover fabric – ensuring the fabric can be easily wrapped around the frame.
Step 9:
Stack the layers on a flat surface, right side down.
Step 10:
Wrap some fabric around the frame and secure in the centre with staples.
Continue with rest of the sides.
Step 11:
Stretch the fabric evenly down and towards one corner, then working from the centre out, staple in place.
Stop stapling about 3inches from corner, then repeat on other sides.
Top Tip: Occasionally look at the top side of the seat to ensure everything is neat.
Step 12:
You can use one of the following three corner techniques to finish your corner:
Butterfly Pleat:
This is the most common corner finish and is completed as follows;
Pull the fabric from the centre of the corner diagonally towards the opposite corner, stapling in place once taut enough. Then fold both sides of the remaining fabric and staple in place, creating two pleats.
Tailored Pleat:
This creates a clean folded corner. Straighten out the corner fabric and, creating a neat fold line, pull one side of the fabric under the frame and staple in place. Then fold the remaining fabric under the frame to create a neat, clean fold line and fix in place with staples.
Pleat Free:
This technique requires you to pull the fabric as taut as possible while stapling it to the frame. Trim any excess visible fabric, although there should not be much of it due to this method preventing fabric gathering in the corners.
Step 13:
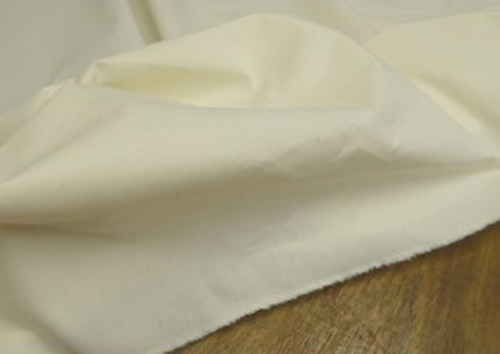
Trim excess fabric, then cut the calico (muslin) so that it is larger than the frame, folding the edges under and fixing to the bottom of the seat with staples.

Now just carefully insert your completely upholstered seat frame inside your drop chair, making sure that it fits perfectly, and enjoy sitting in your new comfy chair!
Do you need the tools to complete this project?
We are the experts in upholstery supplies and training. Contact the team at JA Milton on 01691 624023 for more information. More of the visual type? Visit our YouTube channel to find out more about how to create your drop-in seat.