


February 12, 2020
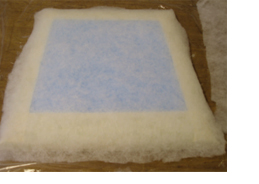
Lay over a sheet of 2 oz or 4 oz polyester.
It is now ready for the fabric. This is where we left the job in part 1 of our instructions.
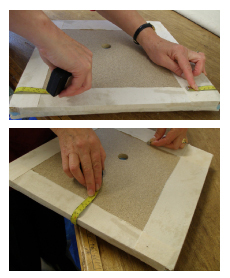
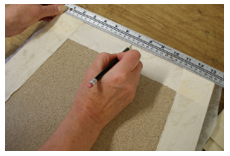
11. Measure your seat in two directions. First the width at its widest point and then the measurement from front to back, taking the measure about 70mm in from the edge on the bottom.
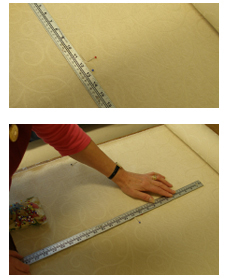
12.Decide where you would like the centre of the pattern of your fabric to be. This may be the centre of a flower of a particular coloured stripe. (My fabric has a twirling self coloured pattern which unfortunately is not so clear in these photographs.) Mark this with cross pins and then measure a square of fabric out from this point eg. If your width should be 600mm make a mark 300mm from either side of the pins. Likewise with your depth.
IMPORTANT NOTE:
It is best practice to use the selvedge of your fabric at the sides of your chair.
In other words, with the weft running from left to right. If there is a pile to your fabric, make sure that it runs smooth from back to front of the seat.
This means that when you run your hand from the back to front of the seat it will flatten the pile.
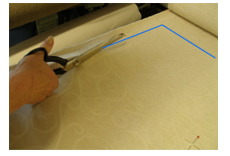
13. Mark your square of fabric with chalk and cut it out
TIP – If you are covering more than one seat, cut all the fabric at the same time.
This way you can cut each piece on exactly the same section of the fabric’s pattern, so that all your seats will match. This is especially important when a fabric has a strong pattern or colours.
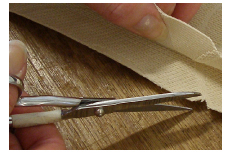
14. Fold your fabric in half vertically, and make a tiny cut on the centre line, top and bottom.
Copy this to all pieces you have cut.
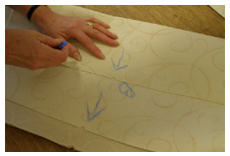
15. Put a chalk arrow with a ‘B’ on the reverse, indicating which is the back of your fabric.
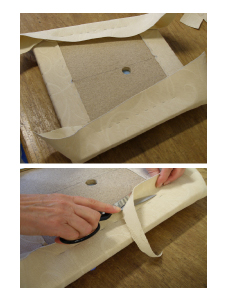
16. Mark the centre of your seat on the base and run a pencil line down the centre the length of the seat.
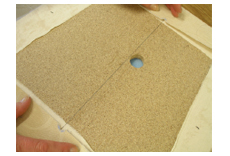
17. Place the fabric face down on the bench and lay the seat on top, with the base upwards. Make sure that the two snips you made in the fabric are perfectly in line with the centre line on the seat.
Note: Make sure the arrow on the back of the fabric indicating the back is pointing in the right direction.
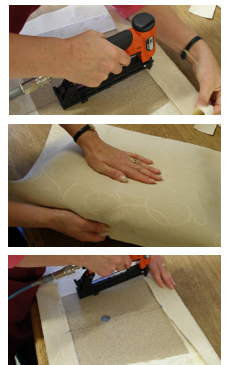
18. Always start from the centre of the seat, and work towards each corner. Do not fix too close to the corners at this stage. Smooth the fabric with your hand over the front of the seat, and fix the front in the same way.
19. Next, fix the sides in the same way as the front and back. Trim off excess at sides where seat tapers.
Please now go to Part 3 to finish your project Click Here.